1.1 Thực hiện tắt Firewalld và SElinux
systemctl disable firewalld
systemctl stop firewalld
sed -i 's/SELINUX=enforcing/SELINUX=disabled/g' /etc/sysconfig/selinux
setenforce 0
1.2 Cài đặt MariaDB 10.5
- Tạo Repo MariaDB
cat << EOF > /etc/yum.repos.d/MariaDB.repo
[mariadb]
name = MariaDB
baseurl = http://yum.mariadb.org/10.5/centos7-amd64
gpgkey=https://yum.mariadb.org/RPM-GPG-KEY-MariaDB
gpgcheck=1
EOF
- Cài đặt MariaDB
yum -y install MariaDB-server MariaDB-client
systemctl start mariadb
systemctl enable mariadb
systemctl status mariadb
- Cấu hình MariaDB
mysql_secure_installation
Nhập tương tự như sau:

- Tạo Database cho Zabbix
mysql -u root -p
create database zabbix character set utf8 collate utf8_bin;
create user zabbix@localhost identified by 'zabbix';
grant all privileges on zabbix.* to zabbix@localhost;
quit;
1.3 Cài đặt zabbix server
- Cài đặt bằng package. Cài đặt gói cấu hình
rpm -Uvh https://repo.zabbix.com/zabbix/4.4/rhel/7/x86_64/zabbix-release-4.4-1.el7.noarch.rpm
- Cài đặt Zabbix Frontend - server
yum install zabbix-server-mysql zabbix-web-mysql -y
- Import databases
cd /usr/share/doc/zabbix-server-mysql-4.4.10gunzcat /usr/share/doc/zabbix-server-mysql*/create.sql.gz | mysql -uzabbix -p zabbix
cd /usr/share/doc/zabbix-server-mysql-4.4.10gunzcat /usr/share/doc/zabbix-server-mysql*/create.sql.gz | mysql -uzabbix -p zabbixBước 3: Import database zabbix
cd /usr/share/doc/zabbix-server-mysql-4.4.10
gunzip create.sql.gz
mysql -u root -p zabbix  < create.sql
Bước 4: Config Database
sed -i 's/# DBHost=localhost/DBHost=localhost/g' /etc/zabbix/zabbix_server.conf
sed -i "s/DBName=zabbix/DBName=zabbix_db/g" /etc/zabbix/zabbix_server.conf
sed -i "s/DBUser=zabbix/DBUser=zabbix_user/g" /etc/zabbix/zabbix_server.conf
sed -i "s/# DBPassword=/DBPassword=password/g" /etc/zabbix/zabbix_server.conf
Bước 5: Configure PHP Setting
sed -i 's/max_execution_time = 30/max_execution_time = 600/g' /etc/php.ini
sed -i 's/max_input_time = 60/max_input_time = 600/g' /etc/php.ini
sed -i 's/memory_limit = 128M/memory_limit = 256M/g' /etc/php.ini
sed -i 's/post_max_size = 8M/post_max_size = 32M/g' /etc/php.ini
sed -i 's/upload_max_filesize = 2M/upload_max_filesize = 16M/g' /etc/php.ini
echo "date.timezone = Asia/Ho_Chi_Minh" >> /etc/php.ini
Bước 7: Restart service zabbix-server, http, mariadb
systemctl start zabbix-server
systemctl enable zabbix-server
systemctl start httpd
systemctl enable httpd
systemctl restart zabbix-server
systemctl restart httpd
systemctl restart mariadb

Trước khi qua bước 8 nếu chưa mở port 443,80 cho server thì tiến hành mở port như link sau:
Bước 8: Cấu hình web dashboard zabbix
http://ipserver/zabbix
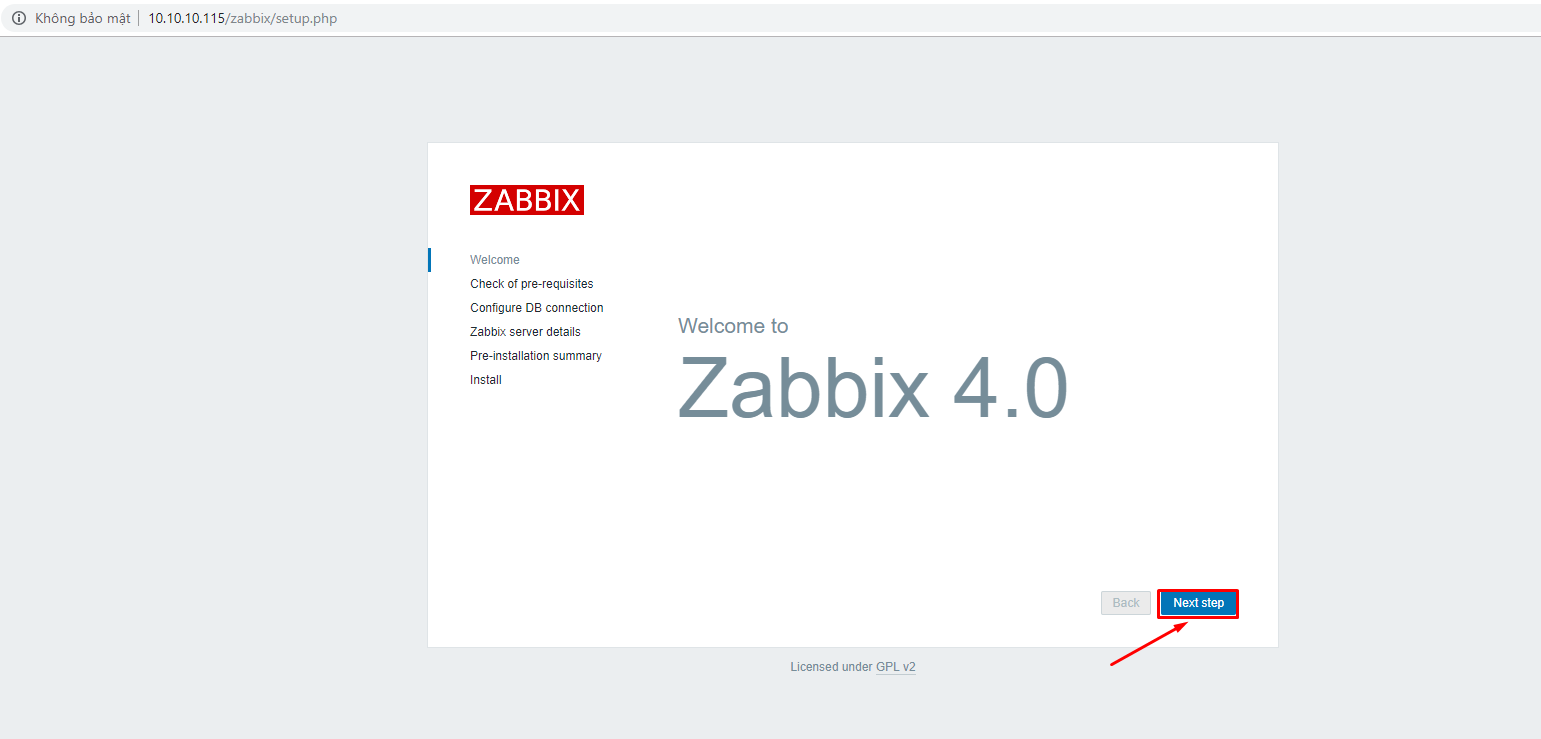
Giao diện cài đặt ban đầu zabbix. Click Next step
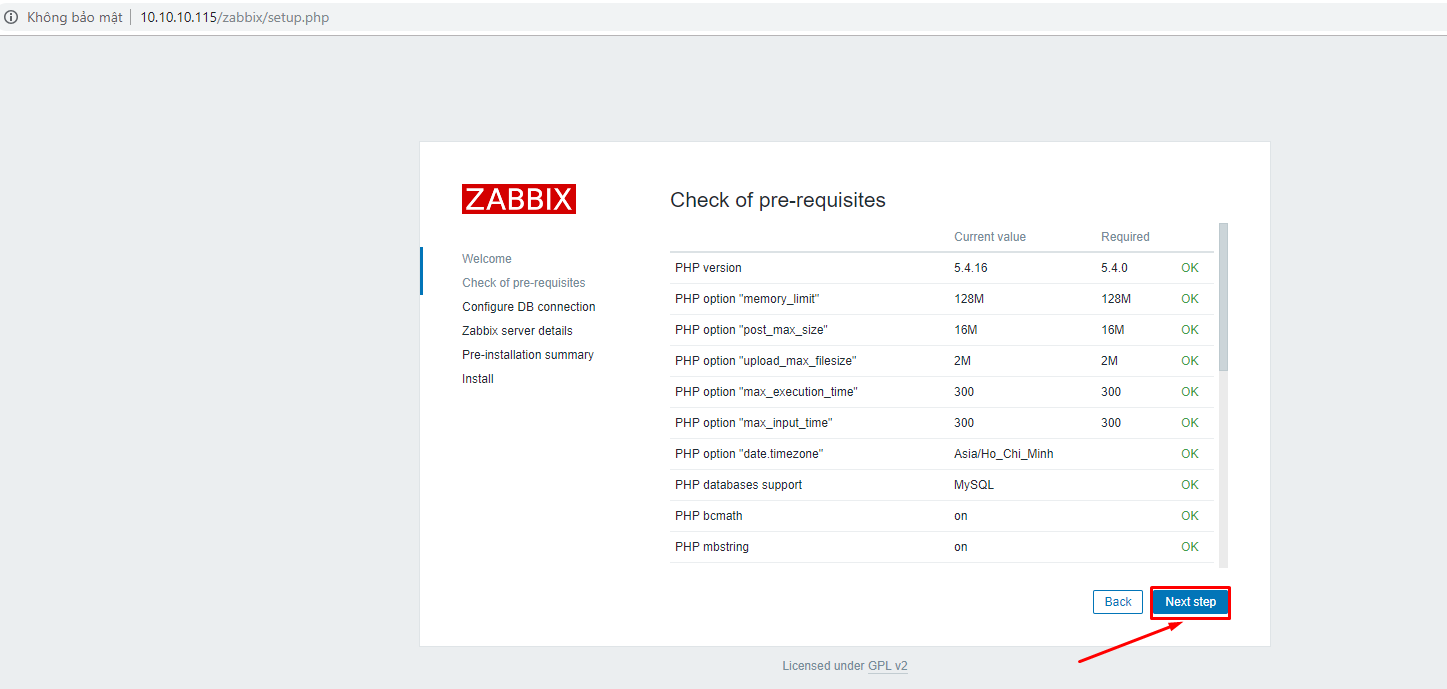
Thông số config php. Click Next step
Nhập thông số về database zabbix đã thiết lập ở bước 2

Điền đúng các thông tin khai báo, chon Next step
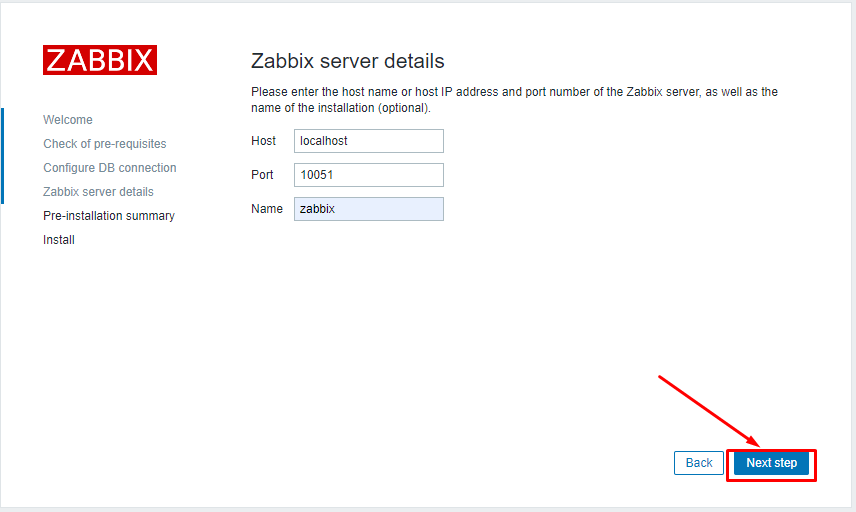
Zabbix server details
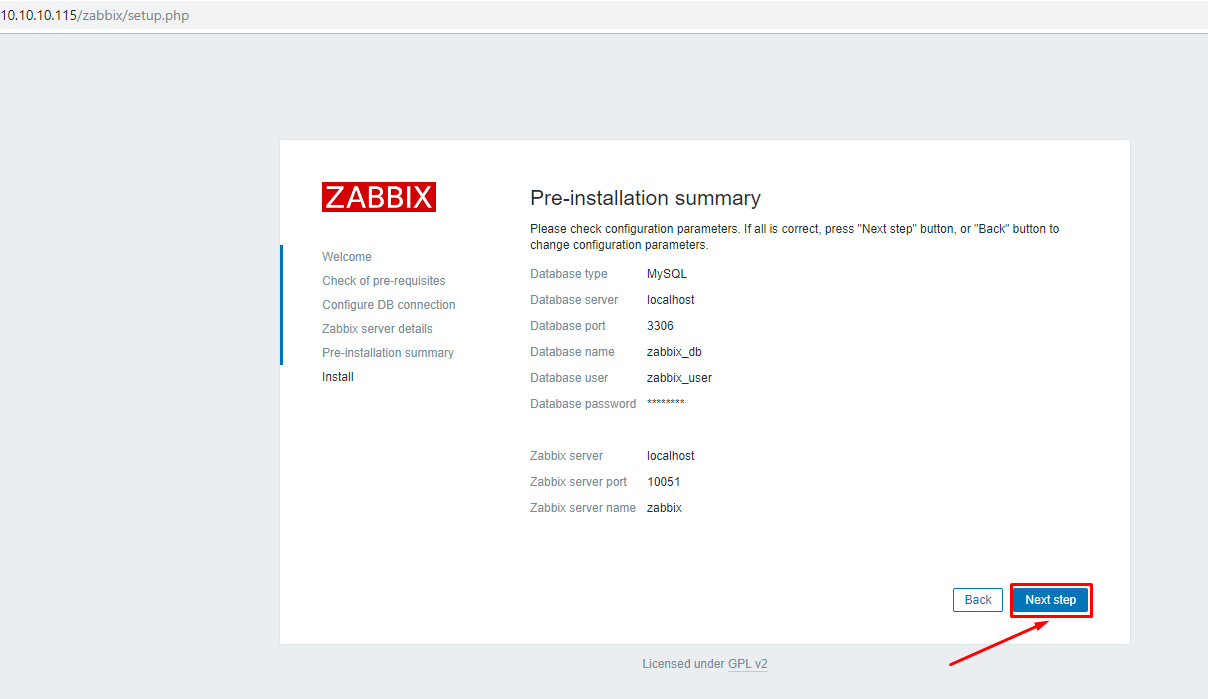
Pre-installation summary
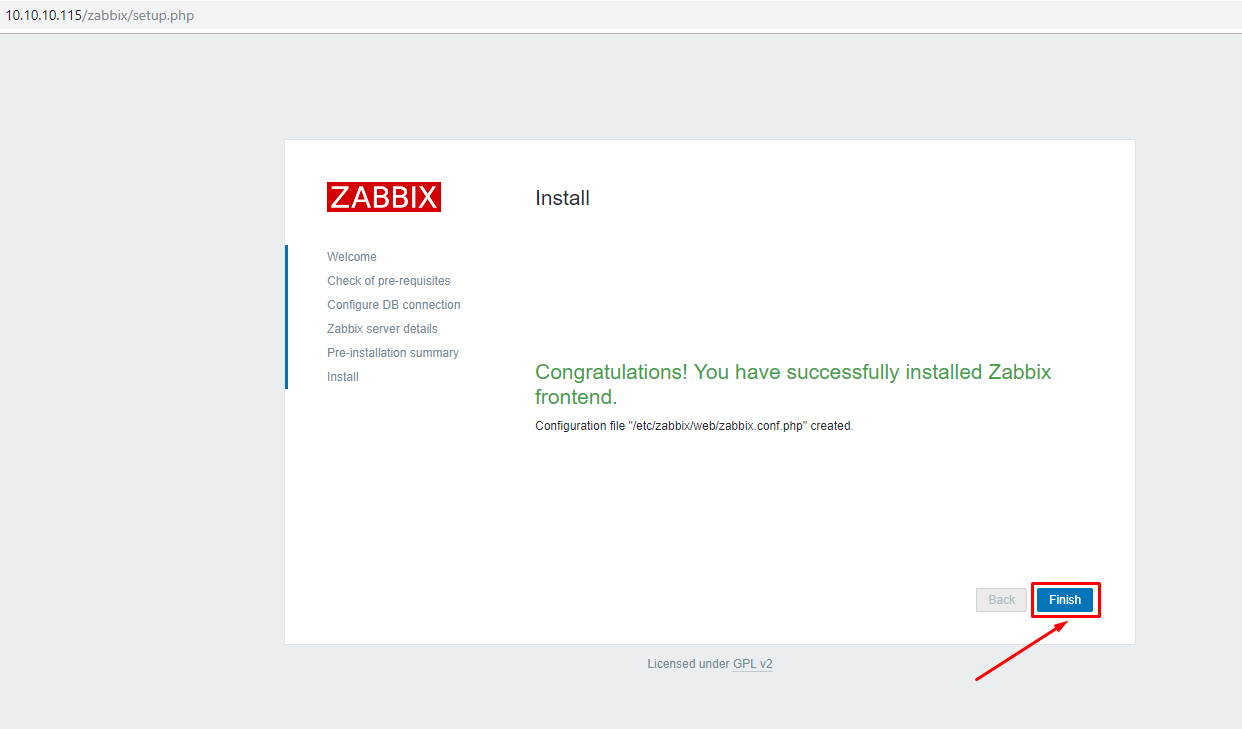
Kết thúc cài đặt. Click Finish
Bước 9: Login dashboard zabbix server
Truy cập địa chỉ trên trình duyệt: http://ip_zabbix_server
Sử dụng tài khoản default để login zabbix server Admin\zabbix
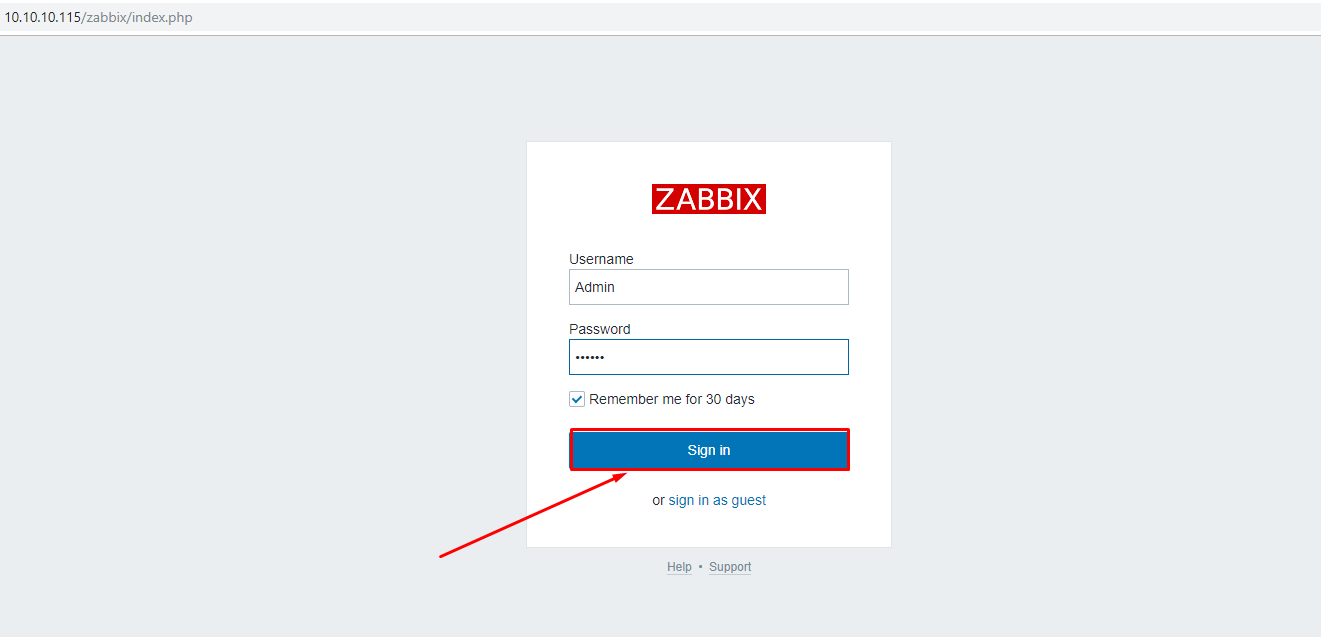
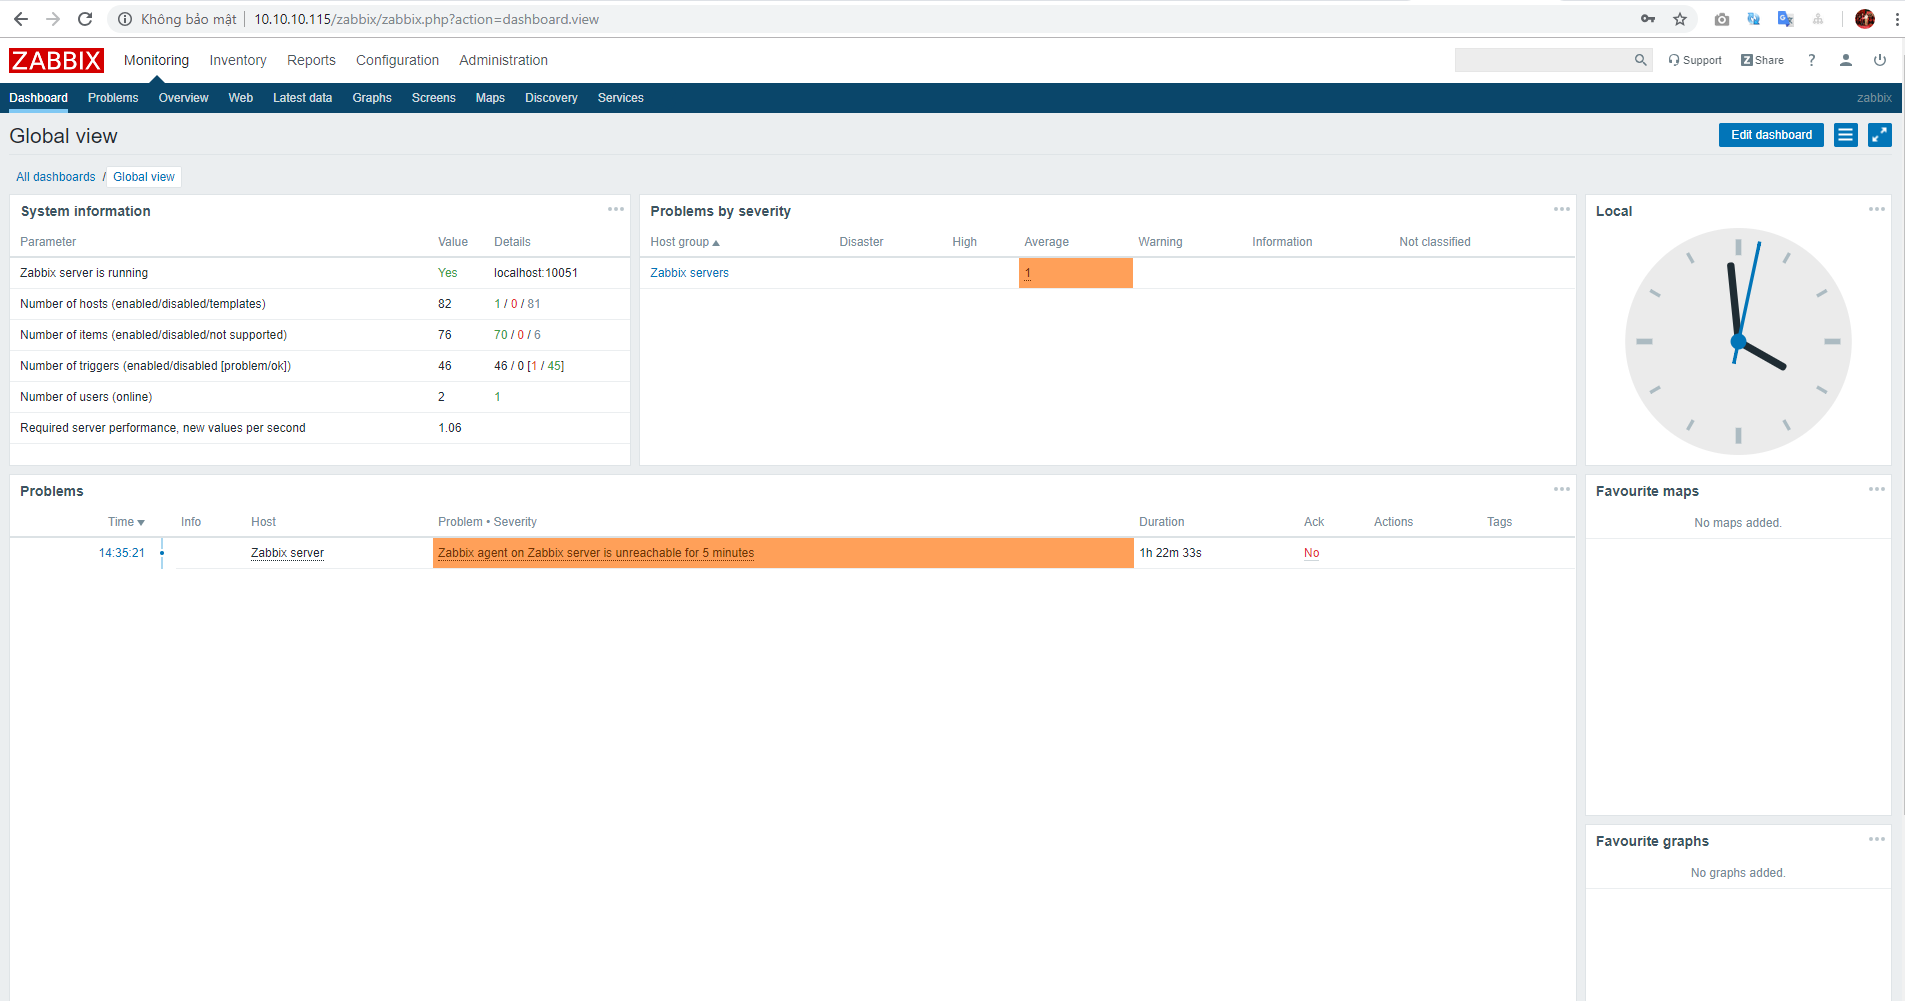
Login thành công.
2. Cài đặt zabbix-agent trên CentOS7
Thực hiện cài đặt zabbix-agent trên máy chủ zabbix-server để thực hiện giám sát zabbix-server
- Cài đặt zabbix-agent
yum install zabbix-agent -y
- Bật zabbix-agent
systemctl start zabbix-agent
systemctl enable zabbix-agent
- Cấu hình zabbix-agent: Sửa file
/etc/zabbix/zabbix_agentd.confvà chỉnh sửa một số thông tin
vim /etc/zabbix/zabbix_agentd.conf
...
SourceIP=IP-agent
ListenIP=IP-agent
ListenPort=10050
Server=IP-server
ServerActive=IP-server
...defaultSourceIP=
ListenIP=0.0.0.0
ListenPort=10050
Server=127.0.0.1
ServerActive=127.0.0.1
Trong đó:
– SourceIP: IP của zabbix agent. Khai báo này được sử dụng khi máy có nhiều IP ta cần chỉ ra IP giao tiếp với zabbix server
– ListenIP: IP của zabbix agent. IP được dùng để lắng nghe các gói tin mà zabbix server gửi đến.
– ListenPort: Port lắng nghe giao tiếp với server. Port mặc định ở đây là 10050
– Server: Bật chế độ Zabbix Monitor Passive ở agent
– ServerActive: Bật chế độ Zabbix Monitor Active ở agent
Khởi động lại zabbix-agent
systemctl restart zabbix-agent
systemctl enable zabbix-agent
3. Thực hiện thêm host giám sát trên zabbix-web
Đăng nhập vào zabbix-web chọn: Configuration -> Host -> Create host

Điền thông tin về host

Chuyển sang tab Templates chọn template phù hợp với host sau đó chọn Add

Kết quả sau khi Add host thành công như sau:

Kiểm tra đã có dữ liệu giám sát hay chưa chọn: Monitoring -> Latest data -> Chon host.

Như vậy là đã thực hiện cài đặt zabbix-server, zabbix-agent trên CentOS7, thực hiện giám sát host trên zabbix-web.
Nhận xét
Đăng nhận xét