Enabling SSH on Ubuntu
By default, when Ubuntu is first installed, remote access via SSH is not allowed. Enabling SSH on Ubuntu is fairly straightforward.
Perform the following steps as root or user with sudo privileges to install and enable SSH on your Ubuntu system:
Open the terminal with
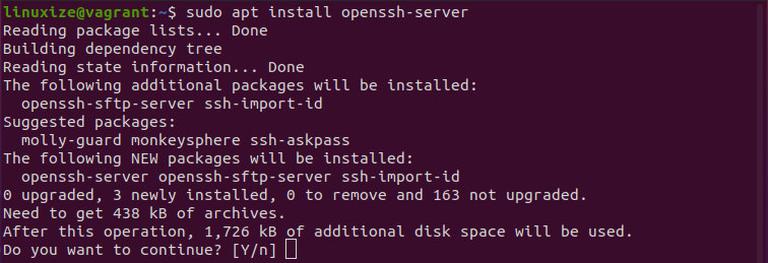
Ctrl+Alt+Tand install theopenssh-serverpackage:sudo apt updatesudo apt install openssh-server
The output should tell you that the service is running and enabled to start on system boot:
● ssh.service - OpenBSD Secure Shell server
    Loaded: loaded (/lib/systemd/system/ssh.service; enabled; vendor preset: enabled)
    Active: active (running) since Mon 2020-06-01 12:34:00 CEST; 9h ago
...
When prompted, enter your password and press Enter to continue with the installation.
Once the installation is complete, the SSH service will start automatically. You can verify that SSH is running by typing:
sudo systemctl status sshPress q to get back to the command line prompt.
Ubuntu ships with a firewall configuration tool called UFW. If the firewall is enabled on your system, make sure to open the SSH port:
sudo ufw allow ssh
Nhận xét
Đăng nhận xét